How to Disable Touch Screen When Using Active Pen

Do you use an active pen for writing on your Windows touch screen ? If yes, then you may have experienced the annoyance of accidentally triggering a touch control. This can be very frustrating and make you long for the ease of paper and pen. Using Windows 10 or Windows 11 you can independently disable the touch screen temporarily while continuing to use an active pen. Surprisingly, this is not as simple clicking or touching an icon in the system tray. Unfortunately you have to enable and disable the touch screen using Device Manager. This is not very quick or convenient when you are trying to rapidly switch between touch and no touch. For example, you may want to quickly re-enable touch while you pinch to zoom in or out and then disable touch before you start writing again. The good news is that with a bit of work you can automate this process yourself.
Step 1
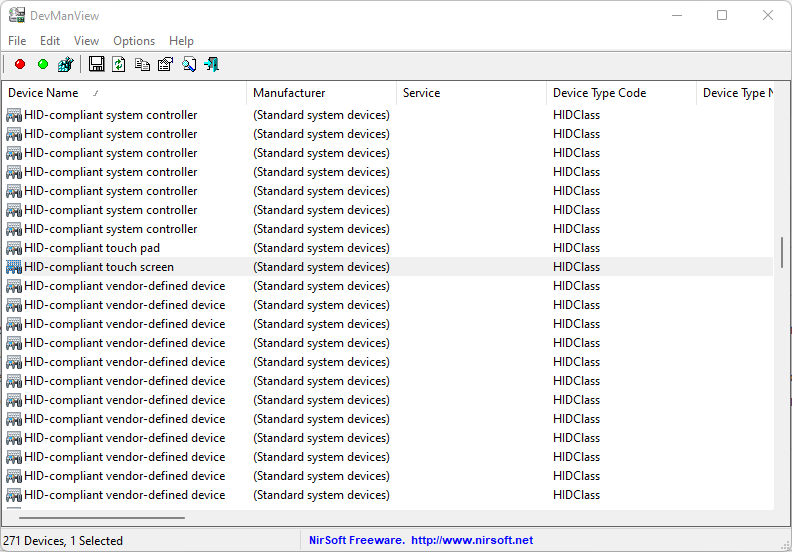
The first step is to install the DevManView utility by NirSoft: DevManView.
It is a single executable that I recommend putting in a folder such as C:\Program Files\DevManView.
Double click the executable, scroll down to "HID-compliant-touchscreen" and right click.
Click "Create Desktop Shortcut" and "Disable Device".
Right click "HID-compliant-touchscreen" again, click "Create Desktop Shortcut" and "Enable Device".
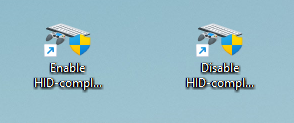
You should now have two desktop icons for enabling and disabling the touch screen. Test that they work before you continue: right click each icon and choose "Run as administrator".
Step 2
You will have noticed that you get an annoying "Do you want to allow this app to make changes to your device ?" prompt every time you run the desktop icons. This next step will eliminate the need for this.
Click the search bar, type in "Task Scheduler" and run the app.
Click "Task Scheduler Library".
Right click "Task Scheduler Library" and click "Create Task".
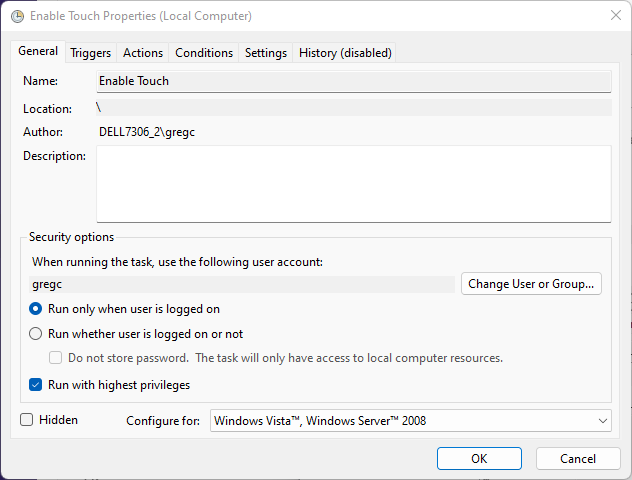
On the "General" tab, enter "Enable Touch" in the name field.
Check the "Run with highest privileges" box.
Do not exit the Task Scheduler app yet.
Right click, the "Enable Touch" desktop icon and copy the text in the "Target" field.
Click the "Actions" tab in Task Scheduler.
Click "New".
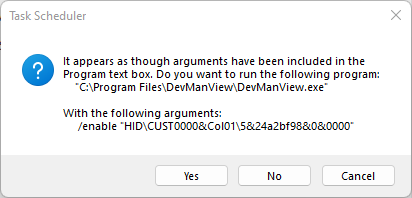
In "Program/Script", paste in the text from the desktop icon and click "OK".
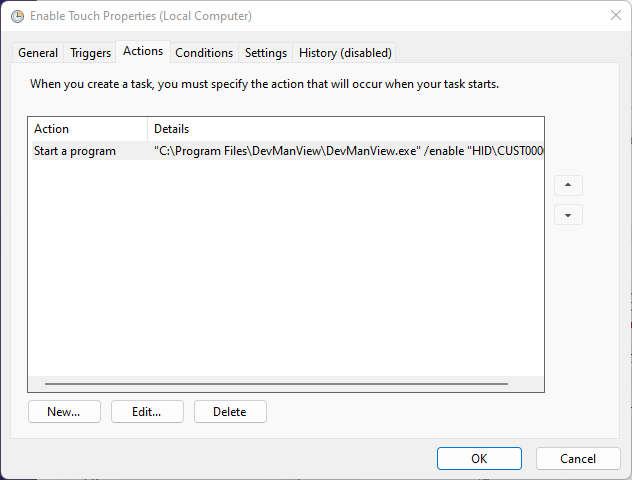
You will be prompted to convert part of the text to arguments. Click "Yes".
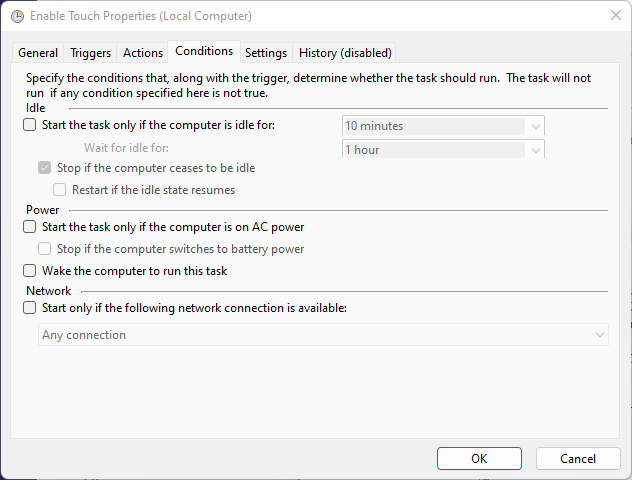
Click the "Conditions Tab" in Task Scheduler.
Under "Power" section uncheck both boxes so that the task can be executed regardless of power mode.
Click "OK".
The "Enable Touch" task has now been created.
Repeat this same process to create a "Disable Touch" task.
Step 3
This step involves creating two desktop icons to run the tasks you have created.
Right click the desktop, click "New" and "Shortcut".
Paste "C:\Windows\System32\schtasks.exe /Run /TN "Enable Touch" into the location field and click "Next".
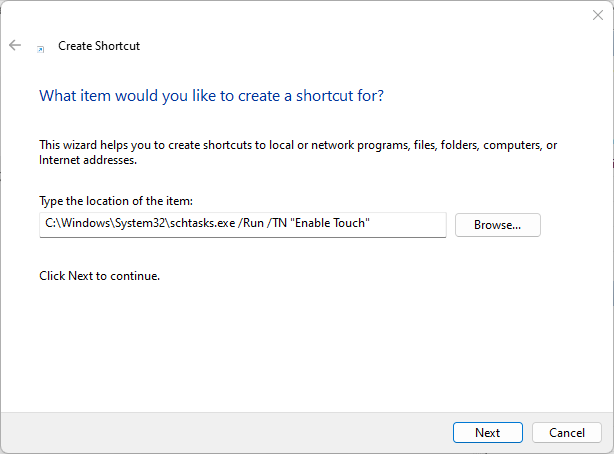
Enter "Enable Touch" in the name field and click "Finish".

Right click the desktop, click "New" and "Shortcut".
Paste "C:\Windows\System32\schtasks.exe /Run /TN "Disable Touch" into the location field and click "Next".
Enter "Disable Touch" in the name field and click "Finish".
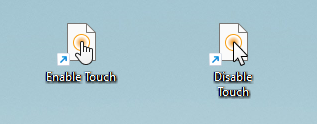
You now have two icons that do not prompt you when you enable or disable touch.
To change to more meaningful icons, right click each icon, click "Properties" and "Change Icon" (see example below).
Right click the icons and pin to the Start menu or Taskbar as desired.
You can now quickly enable and disable the touch screen whenever you want!